
Showing posts with label special occasion handouts. Show all posts

Friday, May 14, 2010

Magnets

These little guys are so easy and fun to make.
They would be perfect for a tween/teen craft project.
Supplies:
Mod Podge (matte finish)
Small Paint Brush
Fabric Scraps
Clear Glass Rocks *clear is best, not pearl or colored
Pen
Scissors
Round Magnets

Step 1: Turn the right side of fabric down and trace around your glass rock with your pen.
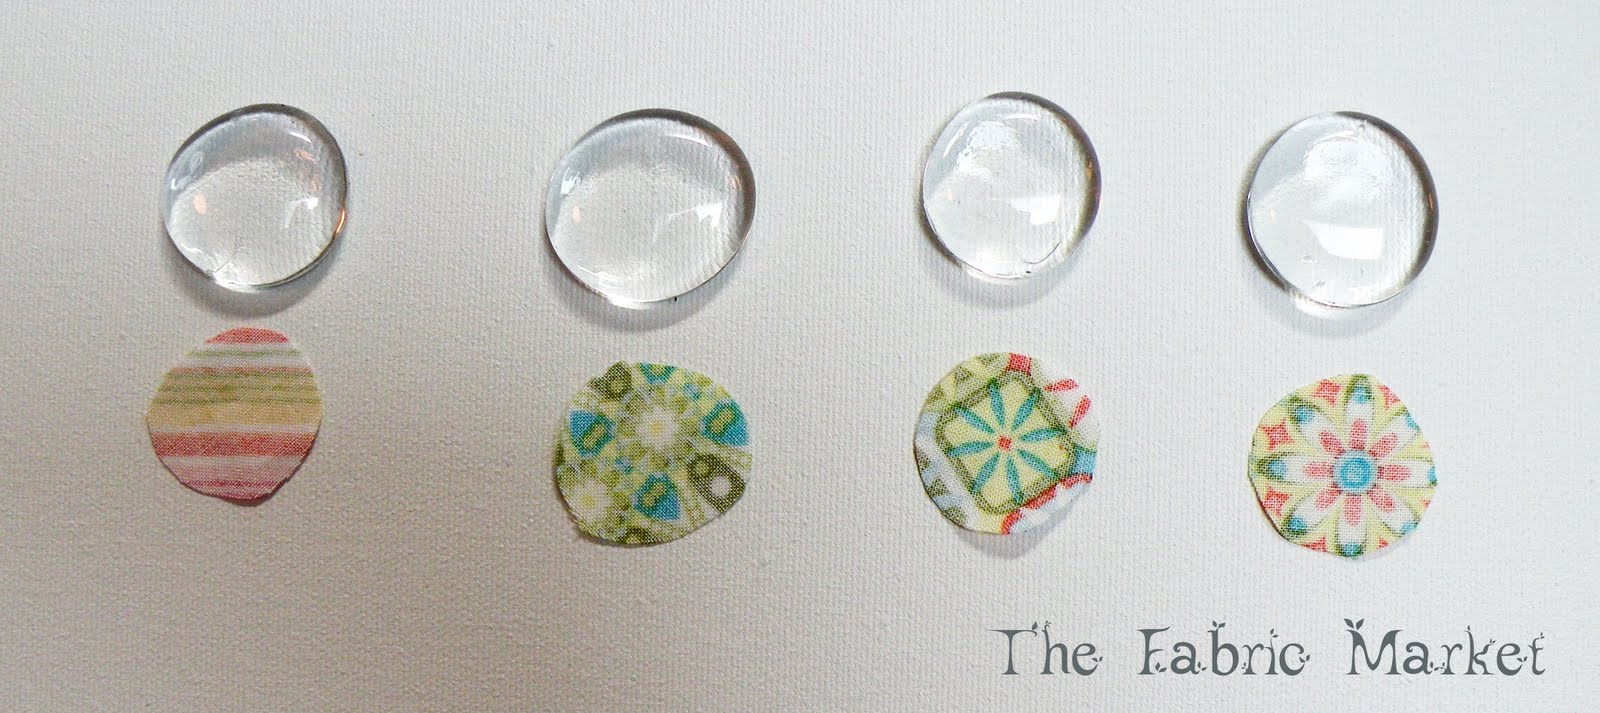
Step 2: Cut out each circle on the inside of the pen line so it doesn't show.


*Just a note, if you are using a fabric with a fun pattern you may consider placing the graphic in the center of your circle, as shown above.


Step 3: Apply a generous amount of Mod Podge to the front of your cut-out. Next press the cut-out onto the back side of your glass rock.


Step 4: Once your fabric is placed on the back, apply a generous amount of Modge Podge to the back.


Step 5: Apply the magnet while the Mod Podge is still wet. Allow to dry 24 hours face down (magnet side up)


Your image may appear blurry, but no worries, once the mod podge is dry it will be clear. You can also use a damp cloth to remove any excess modge podge that may be on the front or side of the rock.


Step 6: Complete. Find a spot to put your really cute magnets or give them away as a gift.
* You don't have to use fabric, you can use scrapbook paper, sheet music, old books, or print words/initials on paper...have fun.


Wednesday, March 31, 2010

Tutorial - Cookie Envelope


Supplies:
1. Paper cut to 8" x 8" square
2. Pencil
3. Cookies
4. Double stick tape
5. Optional: Embellishments (stickers, ribbons)

*Feel free to get creative in the type of paper you use: scrapbook paper, vellum, textured paper, pages of old books, sheet music, magazine pages.

Position your 8" x 8" paper like a diamond, as shown above. Measure and mark with a pencil, 3 inches from the top point on each side; do the same to the bottom point. Indicated as here.


Next, using the marks you made above, fold the two side corner in along those marks. You can now erase those pencil marks.

Once your two side corners are folded in, fold down the top corner, placing the point approx. where the two sides form a triangle, in this case a white triangle.

Do the same to the bottom corner, but first raise the top fold up so you will know where to place your point and make your fold.

Four folds later, you will have something that will look like this. Place a cookie or two inside, if you haven't already eaten them. Fold side corners, bottom corner, than top and fasten with double stick tape or a sticker.

Add ribbon and a sweet message.

These cookie envelopes could be used as handouts for birthdays, showers, or any other special occasion.